CMM History

1833-1949
1833 – Brown & Sharpe founded.
1869 – Ernst Leitz takes over the “Optische Institut” and calls it “Ernst Leitz”.
1880 – L.S. Starrett opens his own shop in Athol, Massachusetts.
1911 – CE Johansson founded.
1925 – Leitz starts serial production of the first 35mm camera “Leica I”, Leica stands for Leitz Camera.
1936 – Mitutoyo founded.
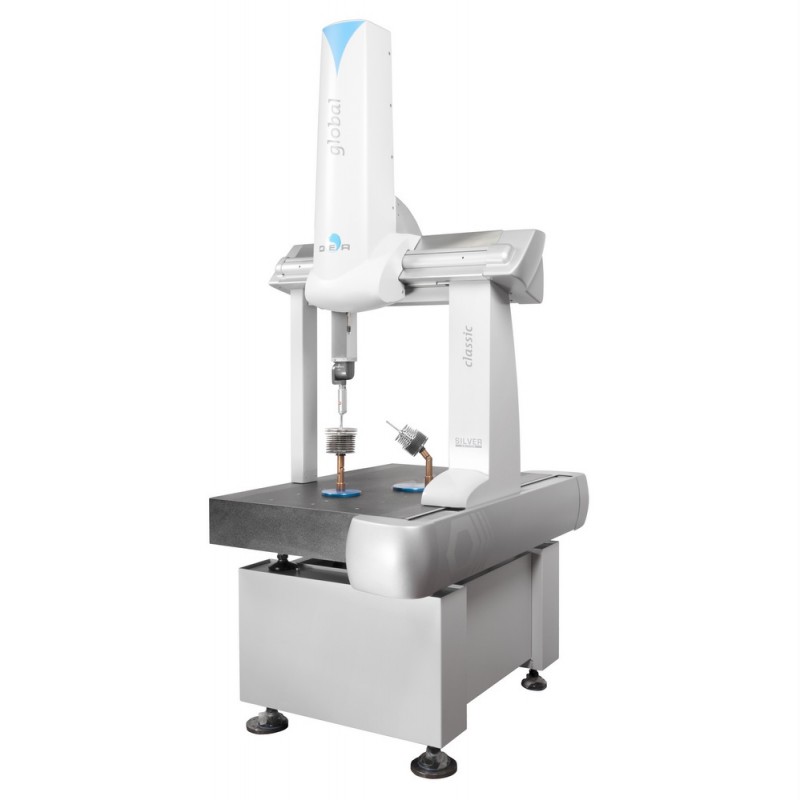
1950‘s The invention of the coordinate measurement machine is generally credited to DEA (Digital Electronic Automation) part of the Hexagon Metrology Group. The first machine was a “Portal” machine in the late 1950’s.
1959 – Months after the DEA introduction, Ferranti introduces their CMM.
1960’s
1963 October 19th – The ASME Board of Standards inaugurated the B89 Metrology Committee
1965 – The Check mate CMM (Shelton) is the first CMM to use air bearings.
1970‘s
1972 – The invention of the touch probe is credited to Renishaw’s founder, David McMurtry.
1973 – First Zeiss CMM the UMM 500.
1974 – Leitz invents the first scanning CMM probe.
1976 – First Mitutoyo CNC CMM.
1980‘s
1981 – Perceptron founded.
1986 – Romer founded.
1987 – API founded.
1990’s
1990– Founding of Wilcox Associates, Inc. The business develops PC-DMIS, the world’s leading CMM software.
2000’s
2001 – Hexagon Metrology acquires Brown & Sharpe and Wilcox (Makers of PC-
DMIS).
http://support.hexagonmetrology.us/link/portal/16101/16131/Article/846/CMM-History
